
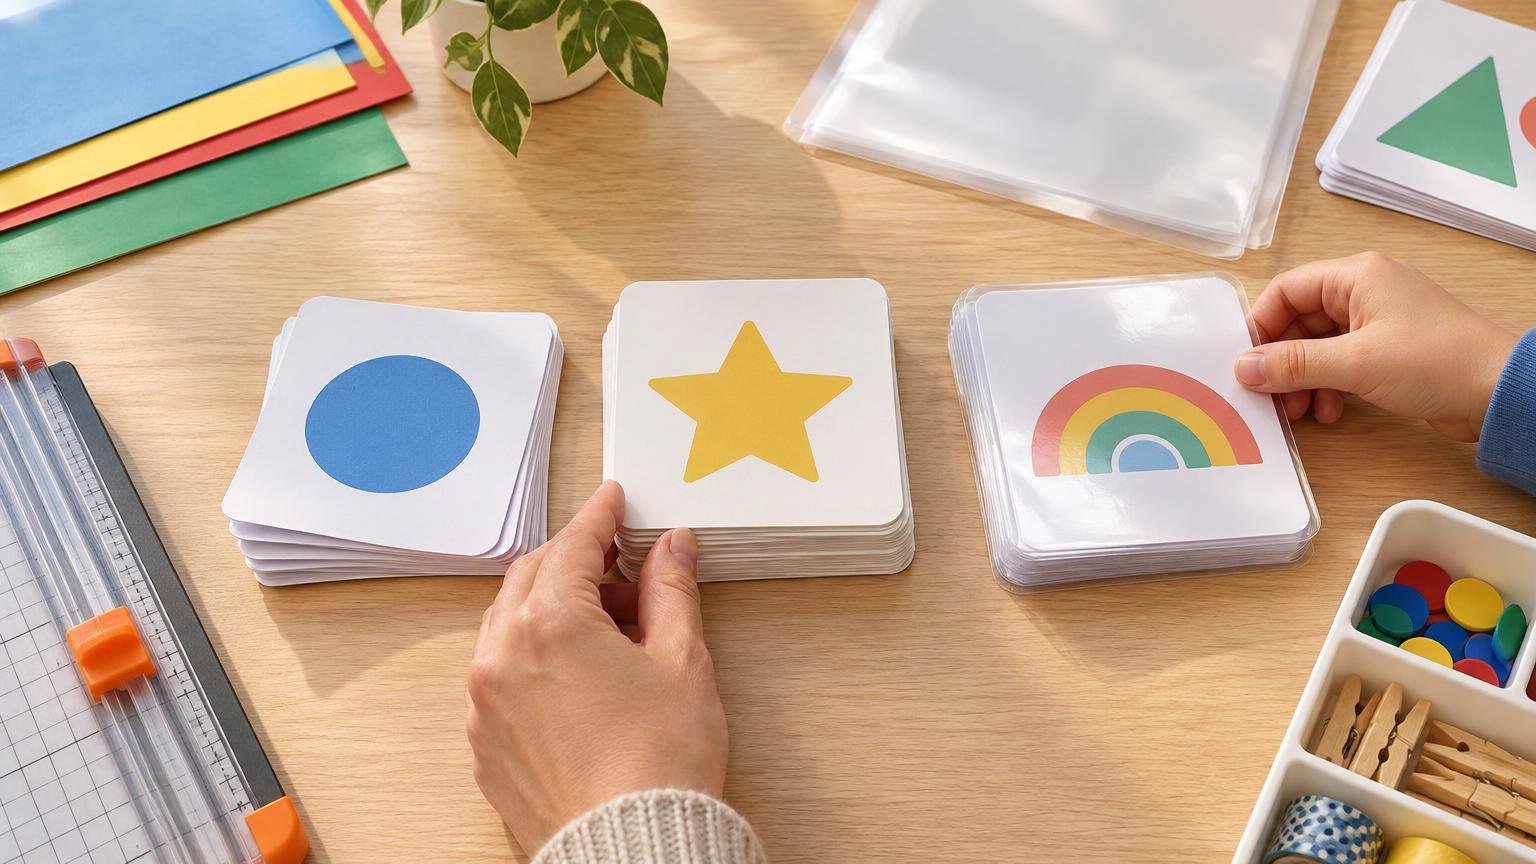
TLDR
For most home-printed decks, the best paper for flash cards is matte white cardstock around 65 lb cover or 176 gsm, provided your printer supports it. It offers a useful middle ground between flexible copy paper and difficult-to-feed heavy stock. Use ordinary printer paper for temporary activities, especially when cards will be discarded soon. Choose heavier cardstock or lamination only when repeated handling, cleaning, or long-term storage justifies the extra cost, bulk, and preparation time.
There is no single paper that wins for every project. A teacher making 30 one-day review sheets has different needs from a homeschool family building a deck for repeated practice. Expected lifespan, printer limits, double-sided readability, cutting time, and storage should determine the material.
Quick comparison of flash-card paper options
| Material | Best use | Handling and durability | Printer demands | Preparation and storage |
|---|---|---|---|---|
| Ordinary copy paper | One-time drills, take-home practice, or cards placed in sleeves | Flexible and easy to crease; inexpensive to replace | Usually the easiest option for home printers and duplex units | Fast to cut but harder to shuffle; takes little storage space |
| Approximately 65 lb cover cardstock | Everyday reusable classroom or home decks | Stiffer and easier to handle than copy paper | Must fall within the printer’s supported media range | Reasonable cutting effort and moderate storage bulk |
| Heavier cover cardstock | Frequently handled cards that will not be laminated | More rigid, but exact stiffness depends on the product | May require a rear or multipurpose feed and manual duplexing | Slower to cut and bulkier to store |
| Laminated lighter cardstock | Shared, wipeable, or frequently reused sets | Laminate adds stiffness and surface protection | Stock must print successfully before lamination | Requires laminating, trimming, and more storage space |
| Laminated heavier cardstock | Small, long-term teacher or demonstration decks | Very firm and potentially bulky | Demands compatible printing plus substantial finishing effort | Best reserved for sets whose expected use justifies the work |
A sensible starting point is an uncoated or matte white 65 lb cover stock. As a product-specific example, Astrobrights lists one cardstock at 65 lb and 176 gsm and describes it as suitable for single- and double-sided printing. That does not guarantee it will feed or duplex in every printer. Buy a small pack or test a few sheets before committing to an entire class set.
How to interpret paper weight, gsm, caliper, and opacity
Paper packaging can be confusing because “65 lb” and “80 lb” do not tell the complete story. The pounds figure is a basis weight calculated from a category-specific parent sheet. Writing, text, cover, index, and bristol papers can use different parent-sheet sizes, so their pound ratings are not directly interchangeable. PaperSpecs explains why basis weights cannot be compared universally across paper categories.
- Basis weight is the familiar pounds label, but it only makes sense alongside the paper category.
- Gsm means grams per square meter. It provides a more consistent way to compare mass across paper categories, although it does not directly measure stiffness.
- Caliper is the sheet’s physical thickness, often reported in points or mils.
- Stiffness describes resistance to bending. Two sheets with similar marketed weights may not feel equally rigid because their construction and compression can differ.
- Opacity describes how effectively a sheet blocks the image or light behind it. It matters when answers appear on the backs of cards.
A specification sheet can be more informative than the package headline. For example, one Neenah 80 lb cover stock is specified as 216 gsm with a 10.2-point caliper and 97 opacity. Those values apply to that product, not every sheet labeled 80 lb. When comparing two stocks, look for the paper category, gsm, caliper, opacity, and finish rather than relying on pounds alone.
Choose enough opacity for double-sided cards
Show-through can reveal an answer before a child turns the card over. Heavier stock may help, but basis weight is not the only factor affecting opacity. Thickness, fillers, bleaching, and coatings can also influence how much the reverse side remains visible. Opacity is a recognized optical property of paper with standardized measurement methods. TAPPI’s paper-opacity test information provides the technical context.
The most reliable classroom test is simple: print one completed front-and-back sheet using the actual design. Check it under the lighting where the cards will be used. Dense black text, dark illustrations, and saturated backgrounds are more likely to be noticeable from the reverse than light designs. If the back shows through, try a more opaque stock, reduce heavy ink coverage, add a consistent backing pattern, or keep prompts and answers on separate cards.
Check your printer before buying cardstock
A printer that accepts cardstock for one-sided output may not support it through the automatic duplex path. Supported media weight, tray limits, and duplex limits are model-specific. One HP model, for example, specifies a 60 to 176 gsm range for duplex media, illustrating why the automatic two-sided limit must be checked separately from the general paper range.
Before printing a full deck, use this compatibility checklist:
- Find the manual or official specifications for the exact printer model.
- Check the supported media type and weight for each tray. A rear or multipurpose tray may accept stock that the main cassette does not.
- Look for a separate automatic-duplex media range. Do not assume it matches the one-sided range.
- Select the closest cardstock or heavy-paper setting in the print dialog when the manufacturer recommends it.
- Print one sheet to confirm feeding, color, scale, and alignment.
- For manual duplexing, mark a test sheet with an arrow, print the front, reload it, and print the back. Record the correct orientation before producing the deck.
Avoid forcing a sheet that feeds poorly. Skewed prints, repeated pickup failures, or scraping are signs to stop and reconsider the stock, tray, or feed path. A slightly lighter compatible sheet is more useful than a rigid card that cannot be printed consistently.
Matte, glossy, or uncoated cardstock?
Matte or uncoated white cardstock is the practical default for most flash cards. It avoids a highly reflective surface, usually provides a familiar paper feel, and permits handwritten notes when the specific pen and stock work together. It also keeps text-focused cards visually simple.
Glossy or coated stock can make image-heavy cards look different, but it may introduce reflections and can be less convenient for writing. Printer technology and coatings also interact, so run a small test for color, drying, smearing, and pencil or marker compatibility. The same practical considerations appear when choosing matte or glossy materials for classroom use.
When lamination is worth the extra work
Lamination makes the most sense for decks that will be shared, handled frequently, stored for future terms, or used with an appropriate erasable marking system. It is less compelling for a short unit or a deck that may need regular content changes. For a broader decision framework, see when to laminate classroom materials and when not to.
Lamination adds thickness as well as surface protection. Avery, for example, lists an approximately 7.5 mil total construction thickness for specified self-laminating sheets. That is a product-specific figure rather than a universal laminate thickness, and the finished card also includes the underlying paper. A complete laminated deck can therefore become much bulkier than expected.
For a laminated set, print and verify every page before laminating. Leave adequate space between cards, seal the full sheet, and cut while retaining a sealed border around each card according to the laminate instructions. Rounded corners can reduce sharp points and make cards more comfortable to handle. Lamination should not automatically be described as waterproof; seams, trimming, material type, and application quality all affect the result.
Cutting cards accurately and efficiently
Design the sheet around the cutting process rather than squeezing in the maximum possible number of cards. Use equal card dimensions, generous gutters, and light trim marks that do not cross into the finished design. Keep important text away from cut lines and allow extra margin if the cards will be punched for a binder ring.
- Print one page at actual size rather than using an unplanned “fit to page” setting.
- Measure a sample card and confirm that front-to-back alignment is acceptable.
- Cut one row and inspect the result before processing the remaining sheets.
- Use a paper trimmer for repeated straight cuts; work in manageable stacks within the trimmer’s stated capacity.
- Sort cards immediately after cutting so mixed decks do not create extra work later.
If a project requires many identical sets, heavy ink coverage, precise two-sided registration, or more cutting time than you can reasonably spare, compare the home workflow with professional printing options. Home printing remains useful for prototypes, small batches, last-minute replacements, and materials that change often.
Plan for classroom handling and storage
Storage should influence the paper choice. Laminated heavy cards may feel substantial individually but can overwhelm a small index-card box when multiplied across a large deck. Before producing dozens of sets, stack one finished sample set and estimate the required container space.
Labeled zip bags are inexpensive for student sets. Photo cases and index-card boxes offer more structure, while binder rings keep sequenced cards together. If using rings, place the punch hole away from text and laminate seals. You can also maintain one durable teacher or master deck while giving students lower-cost paper or lighter-cardstock practice copies.
Calculate cost by usable deck, not sheet price
Without current local prices, no material can be declared universally cheapest. Calculate the cost of a usable deck by including stock, ink or toner, laminate, expected waste, replacement needs, and preparation time.
- Determine how many usable cards fit on one sheet.
- Divide the number of cards required by cards per sheet and round up.
- Add sheets for orientation tests, alignment errors, and replacements.
- Include ink or toner demands, especially for full-background designs.
- Add laminate sheets or pouches and account for trimming time when applicable.
- Consider whether inexpensive reprints are more practical than making every card highly durable.
For a one-week matching activity, copy paper or light cardstock may offer the best value. For a core deck used throughout the year, compatible cardstock can reduce replacement work. Lamination earns its cost when the expected reuse and handling are high enough to justify the finishing steps.
Common flash-card paper questions
Is 65 lb or 80 lb cardstock better for flash cards?
Start around 65 lb cover or 176 gsm when you want a balance of stiffness and home-printer compatibility. An 80 lb cover stock may feel firmer, but its exact gsm and caliper depend on the product. Choose it only after confirming that your printer and intended feed path support it.
Can I use normal printer paper?
Yes. Copy paper is suitable for temporary drills, disposable practice cards, prototypes, and cards inserted into reusable sleeves. It is flexible and may show reverse-side printing more readily, but that does not matter for every activity.
Can cardstock be printed on both sides?
Often, but compatibility depends on the printer, stock, tray, and duplex path. Check both the general media range and the automatic-duplex range. If automatic duplexing is unsupported, a carefully tested manual two-sided workflow may still be possible.
Is it better to laminate paper or cardstock?
Laminated lighter stock can provide enough structure without creating an excessively thick deck. Laminated cardstock is appropriate when extra rigidity is useful, but it increases cutting effort and storage bulk. Test one sheet before finishing the entire set.
What is the best way to prevent show-through?
Choose a stock with a useful opacity specification and test the real front-and-back design. If show-through remains distracting, reduce dense ink coverage, use a more opaque paper, or separate prompts and answers.
The practical recommendation
Choose paper according to the deck’s expected lifespan. Copy paper is adequate for temporary activities. Matte white cardstock around 65 lb cover or 176 gsm is a sensible everyday starting point for reusable flash cards when the printer supports it. Move to heavier stock or lamination only when frequent handling, shared use, or long-term storage makes the added cost and bulk worthwhile.
Before buying a large pack, check the printer manual and produce one finished test sheet. Print both sides, cut the cards, handle them, and place the sample stack in its intended container. That small trial reveals more than the weight printed on the package and helps prevent wasted paper, ink, and preparation time.
References
- Eclipse Black™ , 8.5” x 11”, 65 lb/176 gsm, 250 Sheets | Colored Cardstock | ASTROBRIGHTS®
- Weekly Quiz: Which is Heavier – 24 lb. Writing or 60 lb. Text Paper? – PaperSpecs
- Weekly Quiz: Is an 80 lb. Cover Sheet Equivalent to an 8 pt. Sheet? – PaperSpecs
- conservation
- Opacity of paper (15/d geometry, illuminant A/2°, 89% reflectance backing and paper backing), Test – T 425 om-21
- HP Color LaserJet Managed MFP E786, E78625, E78630, E78635 – Printer specifications | HP® Support
- Thickness of Avery 73601, 73603, 73602 | Avery