
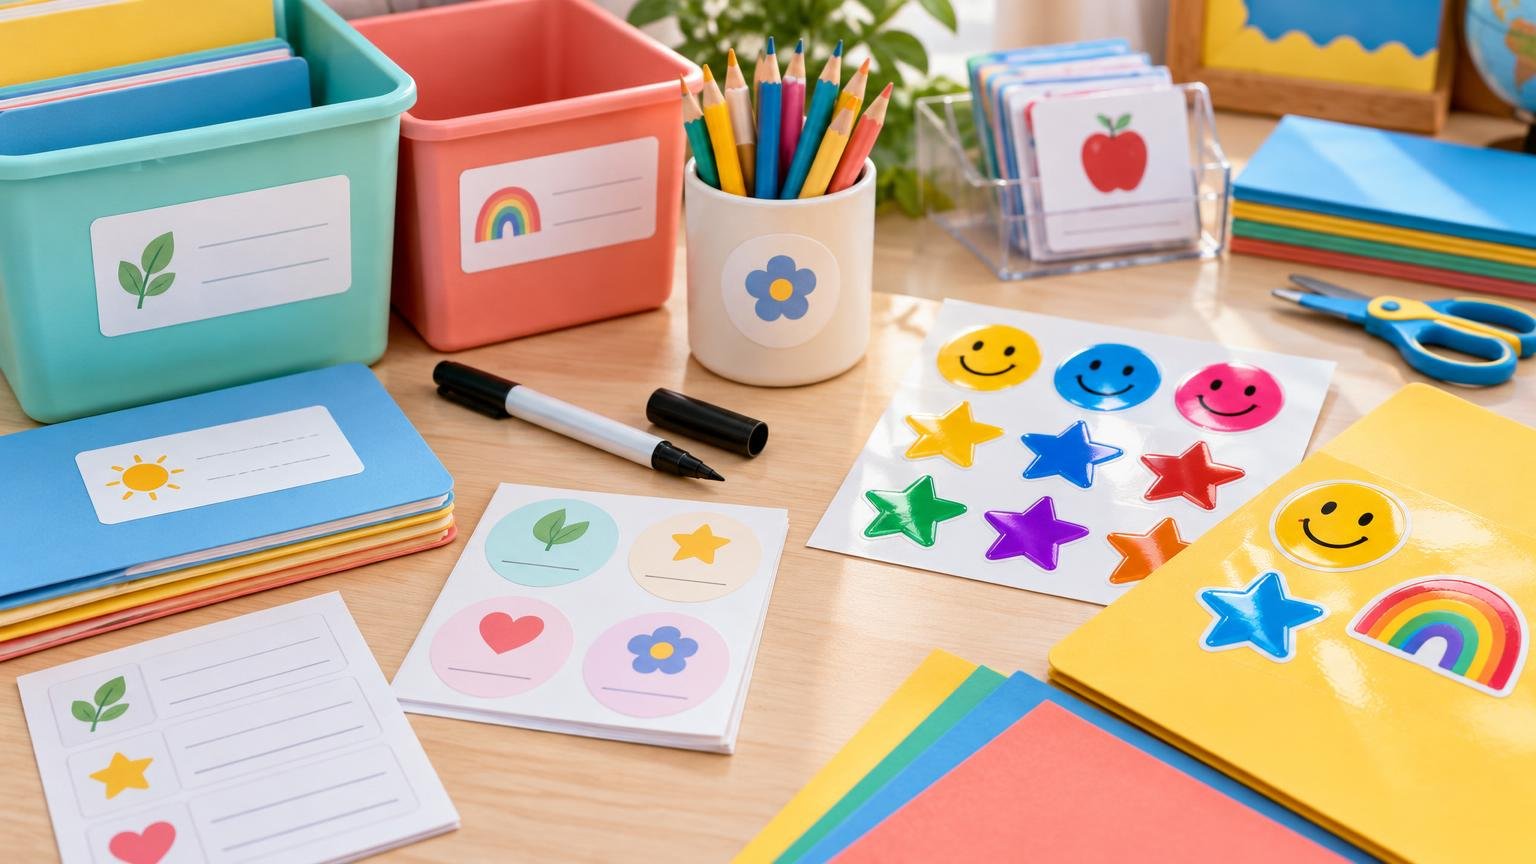
TLDR: Matte is the better default for cubby labels, folders, supply bins, name labels, and other classroom stickers that must be readable or handwritten. Glossy is a strong choice for colorful reward stickers, event seals, mascots, and image-led designs. However, finish does not determine whether a sticker is waterproof, washable, removable, or suitable for a particular surface. Check the face material, ink compatibility, coating or laminate, and adhesive separately.
The matte vs glossy classroom stickers decision becomes easier when you start with the task rather than the appearance. Choose matte when low glare and easy handwriting matter most. Choose glossy when bright color and visual impact matter more than writing convenience. For frequently cleaned items or anything exposed to water, select the required material and adhesive first, then choose a finish available in that construction.
Matte vs glossy classroom stickers at a glance
| Decision point | Matte finish | Glossy finish |
|---|---|---|
| Glare | Low-reflection surface; generally easier to view under bright lights | Reflects more light and may create glare near windows or overhead fixtures |
| Color appearance | Softer, more subdued presentation | Often makes colors and contrast appear more vivid |
| Handwriting | Usually the easier starting point for pencils, pens, and markers | May require a compatible permanent marker and more drying time |
| Fingerprints | Typically less noticeable | More likely to show fingerprints and smudges |
| Cleaning and water | Depends on the label material, ink, coating, and adhesive | Also depends on the full construction; gloss alone does not mean waterproof |
| Best classroom uses | Bins, cubbies, folders, book labels, rotating names, written notes | Rewards, event stickers, mascot art, illustrated seals, bright decorative labels |
These are general finish characteristics, not universal performance guarantees. A glossy paper sticker can be less moisture-resistant than a matte waterproof film, while a purpose-made glossy vinyl label may tolerate exposure that an ordinary matte paper label cannot.
Why matte works well for organization labels
Matte stickers have a non-reflective appearance, which helps reduce distracting reflections from classroom lighting and nearby windows. That makes them a practical choice for labels children and adults need to identify quickly from different positions. HP’s explanation of matte and glossy print surfaces similarly describes matte as lower-glare and glossy as more vibrant and reflective. It also notes that fingerprints tend to be more visible on glossy surfaces.
Writability is another reason to begin with matte. Teachers often need to add a student name, date, group number, reading level, or temporary instruction after printing. Avery states that its standard matte white labels can be written on with ballpoint, rollerball, and gel pens, pencils, and permanent markers. It cautions that handwriting on glossy and durable-film labels may take longer to dry. That guidance applies to the specified Avery materials rather than every label on the market, but it illustrates why checking both the stock and writing tool matters.
Matte is especially useful for labels that will change during the term. A printed heading such as “Table Group” can leave a blank matte area for a handwritten number. The same approach works for cubbies, reading folders, supply baskets, take-home envelopes, and classroom library notes.
The tradeoff is that matte colors usually look softer. That is often helpful for information-heavy labels, but it may not provide the bright, polished effect wanted for celebration stickers or highly illustrated designs.
When glossy stickers are the better choice
Glossy stickers can give colors stronger visual impact and make contrast appear more pronounced. That suits reward stickers, school-event seals, club logos, mascot illustrations, and designs in which the picture carries more of the message than handwritten text. Glossy can also make a simple icon or colorful border feel more finished.
The main compromises are reflections, visible handling marks, and writing friction. A glossy sticker placed directly beneath bright lights may be harder to read from an angle. Frequently handled stickers can show fingerprints more readily, particularly on dark solid colors. If a name or date must be added, test the exact pen or marker and allow it to dry before stacking, touching, or applying the stickers.
Glossy therefore works best when the artwork is already complete. A printed “Great Effort” reward with a colorful illustration is a natural glossy application. A bin label that must be renamed every few weeks is usually more convenient in matte.
Choose the finish by classroom task
Bins, cubbies, folders, and books
Start with matte for everyday organization. Its lower glare and generally friendlier writing surface suit labels that must remain readable and may need handwritten changes. For folders and books, also consider whether the adhesive should be permanent or removable. A strong permanent adhesive may damage a cover when removed, while a low-tack option may lift during repeated handling.
Rewards and recognition
Glossy is often the more visually energetic choice for rewards, birthday stickers, reading milestones, event handouts, and decorative seals. Matte remains appropriate if students or teachers will write names or short messages on them. For additional age- and setting-aware ideas, see this guide to stickers for daycares and preschools.
Frequently handled learning materials
For flash cards, reusable prompts, check-in boards, or equipment labels, do not choose on finish alone. Repeated handling places more importance on the face material, print durability, edge lifting, and adhesive. A film or vinyl product may be more suitable than basic paper, but its published care instructions still determine what cleaning it can tolerate.
Water bottles, lunch containers, and sink-area bins
Choose a product specifically rated for the expected exposure. “Water-resistant” and “waterproof” are not interchangeable terms, and manufacturers offer matte and glossy finishes across different material categories. A sticker that survives occasional splashes is not automatically suitable for soaking, dishwasher cycles, detergents, or repeated scrubbing.
For bottles and other demanding applications, inspect the full construction: film or vinyl rather than ordinary paper, compatible ink or professional printing, any protective laminate, the adhesive specification, and the care instructions. The site’s guide to waterproof stickers for bottles and laptops explores those requirements in more detail.
Cleaning and wipeability require product-specific checks
Neither matte nor glossy automatically means wipe-clean. A dry cloth, a slightly damp cloth, a disinfectant wipe, soap and water, soaking, and a dishwasher are substantially different conditions. A coating may help protect the printed surface, but the edges, adhesive, ink, and underlying stock can still fail.
Before labeling an entire set of classroom materials, make one sample and reproduce the real routine. Apply it to the intended item, allow the adhesive and ink to settle for the time specified by the manufacturer, and then use the same cleaning method staff normally use. Check for smeared print, softened paper, cloudy film, lifting corners, adhesive residue, or color transfer.
If regular disinfection is required, ask the label supplier whether the specific construction is compatible with the cleaning product and contact time used at your site. Avoid making a cleaning or sanitation promise based only on a glossy appearance.
Match the adhesive to the surface
A suitable finish cannot compensate for the wrong adhesive or application surface. Smooth, clean, dry plastic bins, glass containers, and metal cabinets are generally more predictable than dusty, curved, textured, or porous surfaces. For example, 3M’s guidance for a removable vinyl label construction identifies smooth glass, metal, and plastic as example substrates and emphasizes clean, dry application surfaces. It also advises testing the intended surface.
Use extra caution on painted walls, drywall, unfinished wood, and textured bins. A removable claim for smooth glass or plastic does not establish that the same sticker will release cleanly from paint. Texture can reduce contact with the adhesive, while fragile paint may pull away during removal. Test one inconspicuous location and leave it in place long enough to approximate the planned use.
- Clean away dust, oils, and old adhesive without leaving cleaner residue.
- Let the surface dry completely before application.
- Apply at the normal room and surface temperature recommended by the manufacturer.
- Press the label evenly, especially around corners and edges.
- Test removability on the actual surface rather than on a substitute.
- Avoid placing ordinary labels where a child may peel off small pieces and mouth them.
A practical home-printing checklist
Printable sticker sheets require a little setup regardless of finish. Glossy sheets can be less forgiving of incorrect media settings or handling before the ink has dried. Matte sheets are often easier for routine labels, but they still need to match the printer and intended use.
- Confirm whether the sheet is made for inkjet or laser printing. Do not assume one sheet works safely in both systems.
- Check that your printer can handle the sheet size, thickness, and coating.
- Select the closest media or paper setting recommended by the label manufacturer.
- Print one sheet or a small test area before producing the full classroom set.
- Let the printing dry for the specified time, particularly on glossy or film surfaces.
- Test the writing tool. Look for smearing immediately and again after the ink has dried.
- Apply one label to the intended bin, folder, bottle, or cabinet and check adhesion before printing in quantity.
If you need consistent color, custom shapes, film materials, or more labels than are practical to cut at home, professionally produced custom classroom stickers may reduce preparation time. Compare the supplier’s material, finish, adhesive, water-exposure guidance, and cleaning instructions rather than selecting from appearance alone.
Common questions about matte and glossy stickers
Are matte or glossy stickers better for classroom labels?
Matte is usually better for information-led labels because it reduces glare and is generally easier to write on. Glossy is often better for colorful rewards and fully printed artwork. The right material and adhesive remain more important when labels face water, cleaning, or heavy handling.
Are glossy stickers waterproof?
Not necessarily. Gloss describes the surface appearance. Waterproof performance depends on the sticker material, printing system, protective coating or laminate, adhesive, edges, and the manufacturer’s stated exposure limits.
Can matte labels be wiped clean?
Some can, but ordinary matte paper labels may absorb moisture or show wear. Look for explicit cleaning guidance for the exact product. Test the normal classroom cleaning method on one finished label before applying a complete set.
What can teachers use to write on glossy labels?
A compatible permanent marker is often the practical starting point, but performance varies. Test the marker, allow adequate drying time, and rub the sample lightly before use. If regular handwriting is central to the label, selecting a stock specifically advertised as writable is safer than relying on the finish name.
The best default for most classrooms
Choose matte for working labels: cubbies, folders, bins, books, changing names, and anything viewed under strong classroom lighting. Choose glossy for visual rewards, event stickers, mascots, and illustrations that benefit from brighter-looking color.
Then make a second decision about construction. Verify water exposure, cleaning compatibility, printer type, adhesive strength, removability, and surface suitability. A small real-world test on the intended item is the most efficient way to prevent wasted sheets, smeared writing, lifted corners, and damaged surfaces.
References
- How to Print Photos at Home That Look Professional | HP® Official Site
- Write on Avery Labels with Pens, Pencils and Markers; Handwrite | Avery
- Compare Label & Sticker Materials | Avery WePrint™ | Avery.com
- www.avery.com
- 3M™ Removable Vinyl Label Material 7600 | 3M United States
- 3M Science. Applied to Life.™
- www.avery.com