In the fast-paced digital age, it’s crucial to foster creativity and imagination in our children. One fantastic way to achieve this is through hands-on, crafty activities that not only entertain but also stimulate their artistic minds. In this article, we’ll delve into two exciting and enjoyable crafts for kids: Shrinky Dinks and DIY stickers. These projects not only provide endless entertainment but also offer an opportunity for kids to express themselves and explore their creativity at home.
Shrinky Dinks – Miniature Magic:
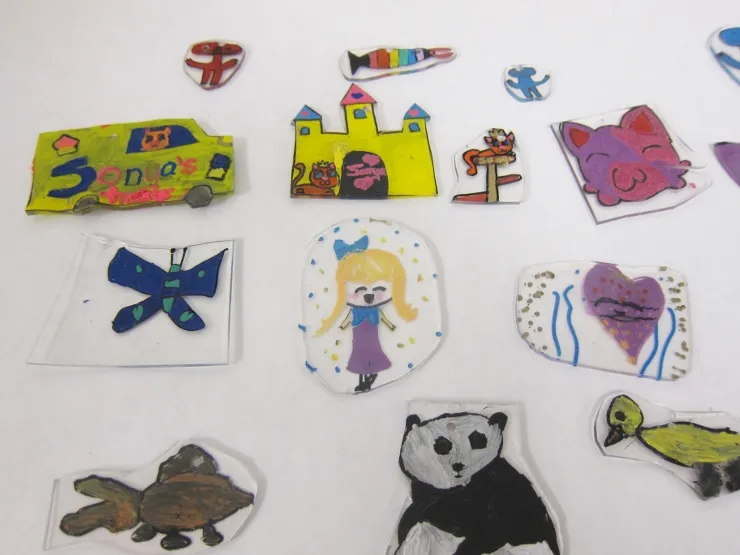
Shrinky Dinks are a classic craft that has been capturing the hearts of children for decades. This magical material starts as a thin, flexible sheet that can be easily cut, colored, and customized. When exposed to heat, such as an oven or a heat gun, the Shrinky Dinks shrink down to a fraction of their original size, transforming into durable, hard plastic creations.
Materials needed for Shrinky Dinks:
- Shrinky Dinks plastic sheets
- Colored pencils, markers, or acrylic paints
- Scissors
- Hole punch (optional)
- Oven or heat gun
- Parchment paper
Instructions for Shrinky Dinks:
- Begin by preheating the oven according to the instructions on the Shrinky Dinks package.
- Invite the kids to draw or color their designs on the Shrinky Dinks plastic sheets. Encourage them to get creative with animals, shapes, or even their favorite characters.
- Carefully cut out the designs using scissors. If they wish to turn their creations into keychains, use a hole punch to create a hole near the edge.
- Place the cut-out designs on a baking sheet lined with parchment paper, ensuring they don’t touch each other.
- Follow the package instructions for baking or use a heat gun to shrink the designs. Kids will be fascinated as their creations magically transform into miniature masterpieces.
DIY Stickers – Personalized Adhesive Fun:
Creating custom stickers at home is another fantastic way to engage kids in a fun and artistic activity. This project allows children to showcase their unique style by designing stickers that can be used to decorate notebooks, water bottles, or anything else they desire.
Materials needed for DIY Stickers:
- Sticker paper or adhesive-backed paper
- Colored pencils, markers, or crayons
- Scissors or a craft knife
- Clear contact paper (optional)
Instructions for DIY Stickers:
- Provide kids with sticker paper and let them unleash their creativity by drawing or coloring their designs on the paper.
- Once the designs are complete, carefully cut them out using scissors or a craft knife.
- Peel off the backing of the sticker paper to reveal the adhesive side of the stickers.
- Kids can now stick their creations onto various surfaces, or for added durability, cover them with clear contact paper.
- Watch as your little artists proudly showcase their personalized stickers on their belongings or share them with friends and family.
Conclusion:
Engaging kids in creative activities like Shrinky Dinks and DIY stickers not only provides entertainment but also nurtures their artistic abilities and fosters a sense of accomplishment. These projects offer a break from screen time and allow children to explore their imaginations in a tangible and hands-on way. So, gather the crafting supplies, clear some space, and embark on a crafting adventure with your little ones today!