
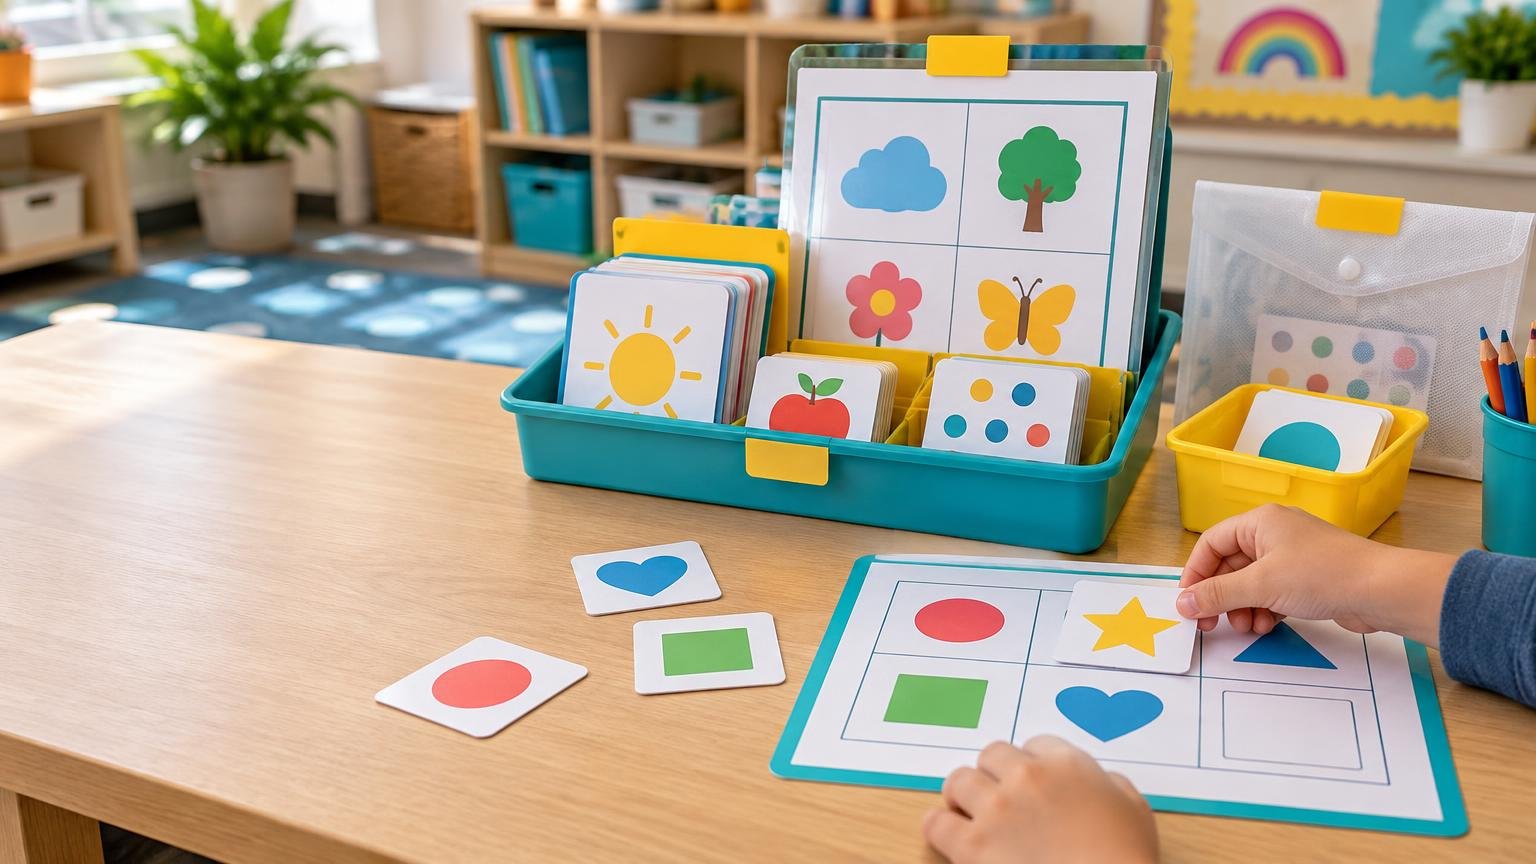
A learning center printable is not truly independent just because students can complete the academic task alone. They also need to identify the activity, understand the directions, manage its pieces, check their work, and return everything to the correct place. If any one of those steps depends on an adult explanation, the center will continue generating interruptions.
The most practical approach is to design the activity as one complete system: a direction card, a worked example, clearly coded pieces, a delayed self-check, a completion cue, and matching storage. This does not guarantee that students will need no help. New or difficult material still benefits from modeling and guided practice before independent practice, as described in the Institute of Education Sciences guidance on explicit instruction. Good center design preserves that routine instead of expecting a printed title to teach the entire activity.
Design the whole student routine before making the cards
Start by writing down what a student must do from the moment they approach the center until the material is put away. This exposes steps that are easy for an adult to overlook: finding a recording sheet, deciding which pile to use first, knowing how many cards to complete, and recognizing what “finished” means.
- Take the activity and any recording materials from the assigned location.
- Read or interpret the direction card.
- Study the example before beginning.
- Complete the required number of items.
- Check the work using the designated answer method.
- Correct errors if that is part of the routine.
- Place every piece back in its matching container.
- Return the container and finished work to the designated locations.
Design every printed component around this sequence. If students need a pencil, dry-erase marker, cloth, timer, clipboard, or manipulative, show that item on the direction card and store it consistently. A printable cannot compensate for a supply that moves to a different shelf every day.
Write directions that can be scanned, not decoded
A strong direction card gives one action per line and uses the same terms that appear on the pieces. Replace a paragraph such as “Students will select each card and identify the corresponding category” with a short sequence: “1. Pick a card. 2. Read the word. 3. Place it under the matching heading. 4. Check your work.”
Pair concise wording with a small icon or visual example where it clarifies the action. The CAST Universal Design for Learning guidelines support presenting information in multiple forms and clarifying vocabulary, symbols, and language structures. A picture of a card moving beneath a heading can communicate the physical routine more efficiently than another sentence. Keep the words, however, so the icon is not forced to carry the meaning alone.
Include one completed example directly on the instruction card or on a separate example card. Make it visually distinct from the pieces students must solve by labeling it “Example” and using a border that does not appear on task cards. The example should demonstrate both the academic response and the physical action: where to place a card, which box to mark, or how to orient a puzzle piece.
Build self-checking without revealing answers too early
A self-check works best when students complete an attempt before seeing the answer. This keeps the check functioning as feedback rather than as an answer display and aligns with guidance on feedback and self-monitoring. Depending on the activity, the check might be an answer card in a separate envelope, a matching code on the backs of completed pairs, or a teacher-prepared model students uncover after sorting.
Avoid placing an obvious answer cue on the front of each task card. For example, if all nouns have blue borders and all verbs have orange borders, students can sort by border instead of considering the words. Put answer codes on the back, conceal them under a flap, or make them available only at the checking stage.
Add a brief completion checklist such as “I finished eight cards. I checked my answers. I returned all pieces.” Checklist questions are one tool used to guide self-monitoring. Written directions or checklists alone have not been shown to eliminate teacher explanations, so introduce the routine explicitly and revise it when students repeatedly stall at the same step.
Choose card and piece sizes by handling needs
Card size should reflect how the material will be held, sorted, read, and stored. Small cards save paper but are easier to lose and leave less room for readable text. Large cards are easier to see but can overwhelm a small table and create bulky storage.
| Format | Practical starting size | Useful for |
|---|---|---|
| Small sorting card | Approximately 2 × 3 inches | Single words, numerals, small pictures, and compact matching sets |
| General task card | Approximately 3 × 4 inches | Short questions, picture prompts, and cards handled one at a time |
| Direction card | Approximately 5 × 7 inches | Three to five steps, supply icons, and one worked example |
| Full-page mat | Letter-size page | Sorting areas, sequencing lanes, graphs, and activities with several pieces |
Treat these dimensions as starting points rather than rules. Print one test page at actual size, cut it out, and place it on the table or tray students will use. Check whether the text remains readable, pieces can be picked up without scraping at the table, and the complete activity fits within the available workspace.
Use generous spacing and clear contrast. Keep essential text away from trim lines and rounded corners. If the activity involves cutting practice rather than pre-cut center cards, the paper and cutting paths need a different design; the guide to paper choice and line design for scissor-skills printables covers that preparation separately.
Use color as a label, not as the only instruction
Color coding is useful for identifying sets, stages, or storage locations. It is less reliable when color itself reveals the answer or when students must distinguish similar shades. Research on instructional signaling suggests that color cues can direct attention in some contexts, but it does not establish that color coding alone improves learning in printed centers. Other research also warns that performance can suffer when learners become dependent on cues that later disappear.
Give every color a non-color partner. A green triangle set can also be labeled “Set 2.” A yellow rhyming activity can carry a bee icon. Matching cards can use identical corner patterns in addition to color. These redundant identifiers keep the material usable in grayscale, under uneven classroom lighting, and for students who do not interpret the color distinction as intended.
Print for the amount of handling the center will receive
Ordinary paper can be enough for recording sheets and activities used once or twice. Repeatedly handled cards usually benefit from cardstock because stiffness makes them easier to pick up, align, and return to a stack. Before printing a full class set, confirm that the printer can feed the chosen stock reliably.
Lamination adds wipeability and protects cards from frequent handling, but it also adds cost, bulk, glare, and preparation time. Reserve it for reusable writing surfaces, high-use direction cards, sorting mats, and pieces expected to remain in rotation. Matte pouches or a lower-glare placement may help when overhead light reflects from a glossy surface.
Round sharp laminate corners after cutting, and leave a sealed border around each piece rather than cutting directly against the paper edge. Count the pieces before and after lamination so a missing card does not become a mysterious flaw in the activity. Print a small inventory line on the container, such as “12 word cards, 3 heading cards, 1 answer card.”
Make storage part of the printable set
Storage should tell students what belongs together and where it goes. NAEYC materials describe accessible classroom arrangements and signs showing where materials belong as supports for children managing materials more independently. Put the same set name, picture, number, and color code on the direction card, task pieces, answer envelope, container, and shelf label.
Use a picture-plus-word label rather than an image or text alone. A label reading “Beginning Sounds” beside the same apple icon found on every card communicates both the set identity and its return location. For frequently handled bins or trays where a paper label will not last, durable custom classroom labels can provide a more permanent identification system.
Choose storage by the shape of the material: zipper pouches for compact card sets, shallow lidded boxes for thicker pieces, document wallets for full-page mats, and divided containers for activities with several categories. Keep the answer key in its own marked pocket so students do not encounter it while taking out the task cards. If you use adhesive rewards or organizational markers with the set, the guide to classroom sticker size, shape, and material explains the practical choices.
Check small pieces for age-appropriate use
Paper cards are not the same as toy-like assembled activities containing loose clips, counters, beads, magnets, or tokens. The U.S. Consumer Product Safety Commission states that products intended for children under three must not contain or release small parts under applicable requirements; its definition refers to whether an item fits completely inside the federal small-parts test cylinder. The agency also advises keeping toys with small parts away from children under three and following age guidance.
For younger groups, favor larger pieces and avoid unnecessary detachable accessories. Review the complete assembled activity, not just the printed sheets, and plan supervision appropriate to the children and materials. Lamination makes paper more durable, but it does not make a small detachable piece suitable for every age.
Pilot the set by tracking where help is still needed
Before producing multiple copies, print one complete set and run through it in student order. Then introduce the activity with modeling and guided practice. During early use, note every question students ask: “Which pile?” “How many?” “Where is the answer?” “Where does this go?” Each repeated question identifies a design problem that may be fixable with a clearer label, example, boundary, or storage cue.
The goal is not to remove teaching from learning centers. It is to keep avoidable material-management questions from consuming the time intended for instruction. A successful set lets students recognize the task, attempt it, check it at the right time, and restore the center for the next user. When directions, pieces, codes, durability, and storage all support that same routine, independence becomes part of the design rather than a hope printed at the top of the page.
References
- Explicit Instruction
- Representation | CAST UDL Guidelines
- Reducing Behavior Problems in the Elementary School Classroom
- Impacts of Color Coding on Programming Learning in Multimedia Learning: Moving Toward a Multimodal Methodology – PMC
- When color coding backfires: A guidance reversal effect when learning with realistic visualizations
- A Sense of Place: Human Geography in the Early Childhood Classroom | NAEYC
- An important part of preparing the early learning environment is to select and use appropriate furnishings. Low shelves and tables allow for better supervision and provide easy access for children to use and manage the space independently, reflecting the belief that children are capable and competent learners and co-owners of the classroom space. Child-sized chairs and varied seating options are a
- Small Parts and Choking Hazard Labeling FAQs | CPSC.gov
- Toys | CPSC.gov